I'm very excited to share a recent project that was featured on Studio 5.


To add a fun fall element to my front porch this year, I thought I would try to create a "Faux Pallet(aka cedar fence slats) Mummy".
The reason I opt for cedar fence slats instead of actual pallet wood is the ease and use of these boards. To find enough pallets, and tear them apart with out the board splitting or removing all the nails, is very labor intensive and time consuming. If you haven't ever used the cedar fence slats for a project, give it a try. The results will look very similar and you'll never touch a pallet again. You can find them at Lowe's in their lawn and garden section for $1.16 a piece.
To begin I knew I wanted a form or structure to attach my faux pallet wood to. I went to Lowe's and had them cut a very inexpensive sheet of wood to a 5x3ft size.

Next, I googled a mummy template and found one that I could draw free hand onto the board.

My favorite part came next, when my husband introduced me to a power tool called the Rotozip. This tool is a hand held cutting tool that we used to cut the outline shape of the Mummy with. You can also use a zigsaw too, but I loved the ease, and versatility of this tool.

After the Mummy was cut out, I spray painted the Mummy's head black to make the eyes pop that I would be adding later. Then I started cutting my fence slats and nailed them onto the Mummy form in a diagonal pattern. I cut different lengths of fence slats to give the wood a stacked look. I also cut the wood a little longer than the form on each side.


Next I found two round discs at Joann's Craft Store and painted them with black and white pain to look like eyes. I then added them to the Mummy's head with wood glue. Once dry, I layered the fence slats over the mummy's eyes.


After I added the fence slats over the eyes, I flipped the Mummy over and cut the end of the fence slats off using the same Rotozip tool. It was very easy to cut then ends of the boards off following the Mummy outline. Then I flipped it back over and gave the whole project a good sanding.

To add to the layered Mummy look we then nailed on a few additional fence slats going the opposite directions.


To finish the Mummy look, I then watered down regular white paint, about 2/3 paint 1/3 water, and whitewashed the entire mummy, except for his face.

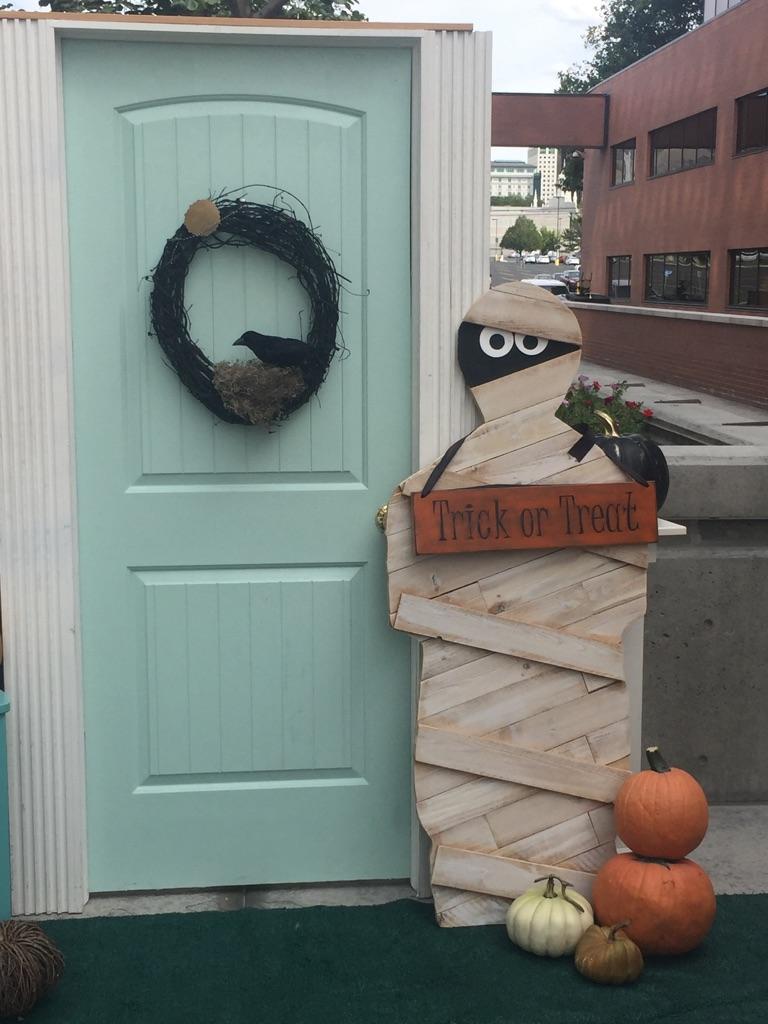
I propped him on my front porch, added a trick or treat sign and some pumpkins and loved the end results.


Happy Fall Y'All!

No comments:
Post a Comment